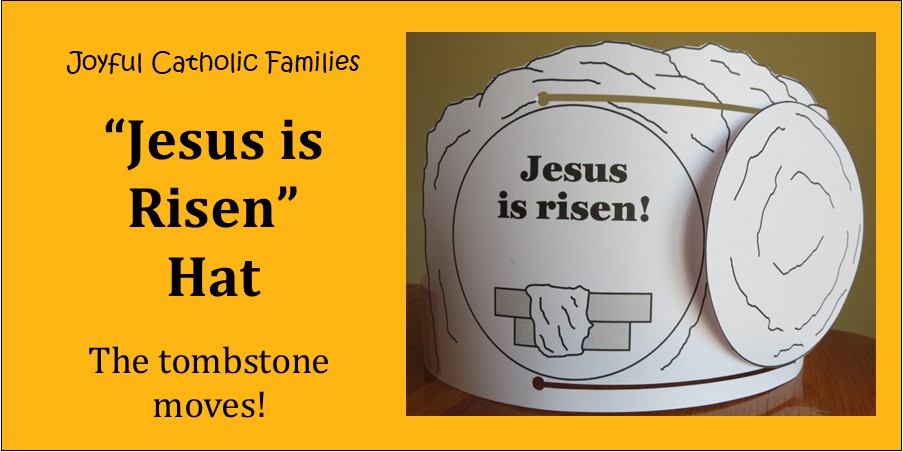
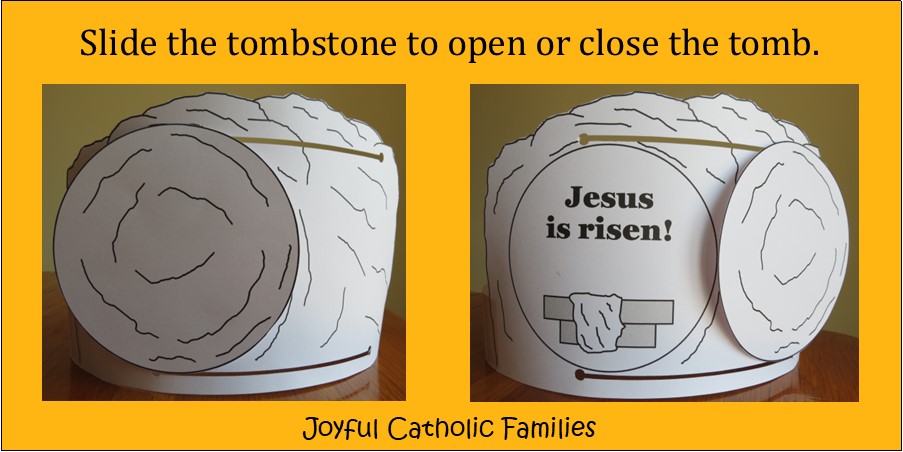
The “Jesus is Risen” hat is a fun way to learn about Jesus’ resurrection. Move the stone and you can see the empty tomb. Wear the hat at an Easter celebration or place on a table to remind you of what we are celebrating during the Easter season.
First, print the PDF onto white cardstock.
Color the tomb and the tombstone.
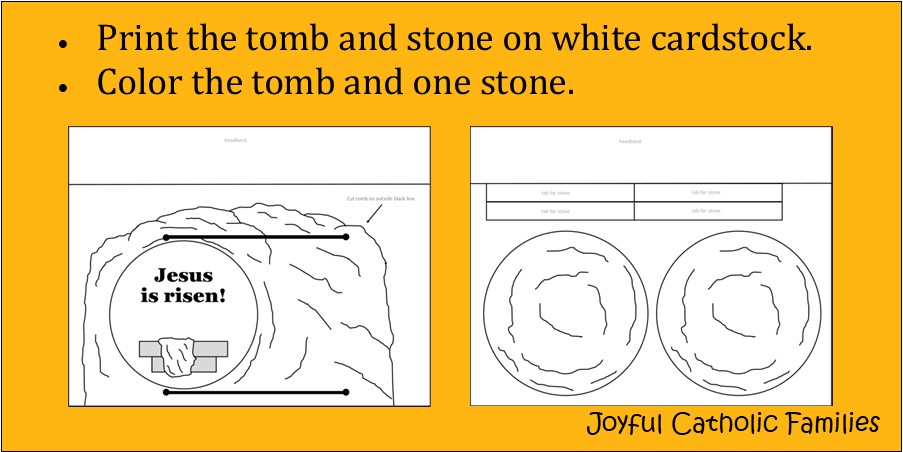
Cut out the tomb, one stone, 2 tabs for the stone, and the two headband pieces.

Using a hole punch, make a hole where the black circles are.
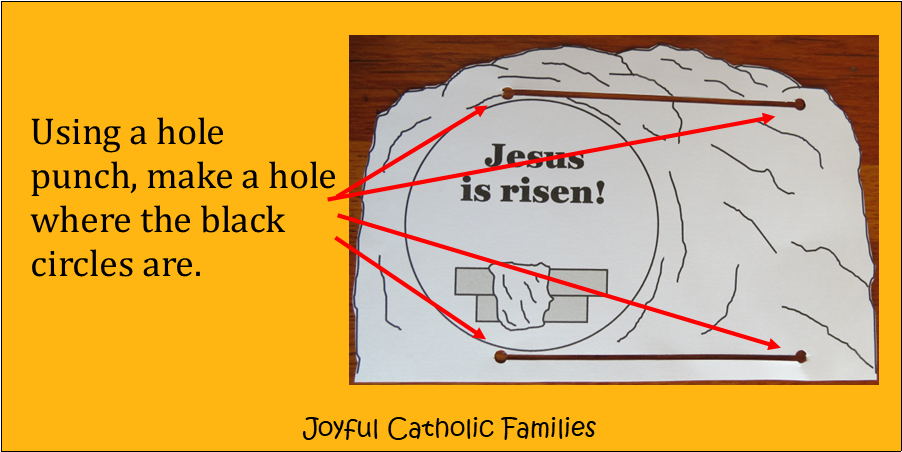
Cut out the two thick lines, trying to keep the edges smooth. When I do this craft with a class, I cut out these lines before class using a roller cutter.

Tape the tabs for the stone to the stone. The edge of the tape that is closest to the outside of the stone is about 1/4″ from the edge of the stone.

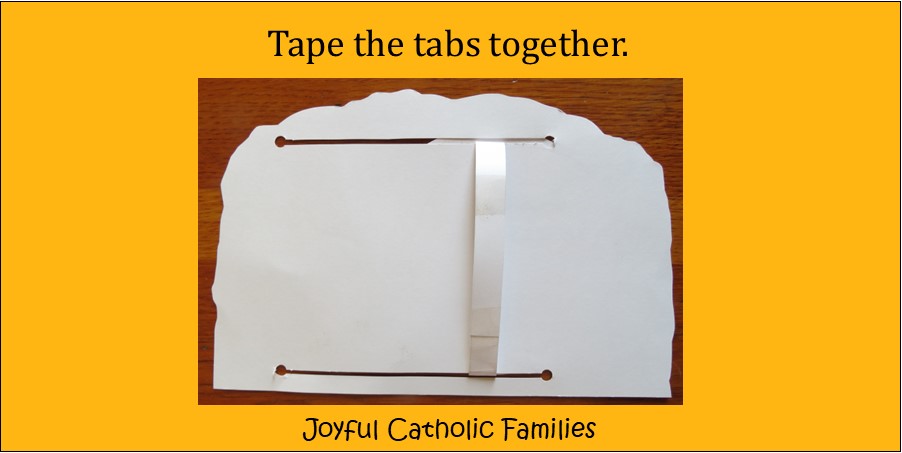
Put the tabs through the slits in the tomb. The tabs should be on the backside of the tomb.
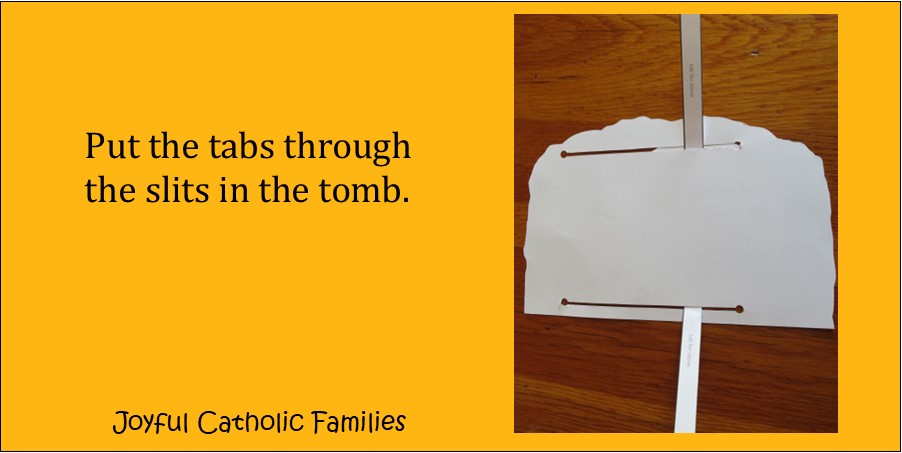
Tape the tabs together.
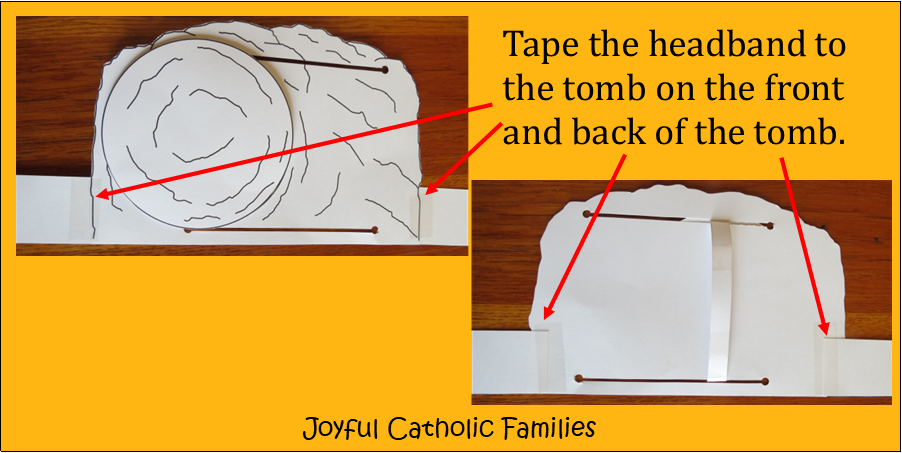
Tape the two headband pieces to the tomb with one on each side. Tape on the front and back of the tomb so the headband pieces stay in place.
Fit the hat to the child’s head and tape the headband pieces together. If the headband pieces are too long, cut off some before taping.

The hat is ready to wear! Slide the tomb to show that Jesus is risen!
Check out these posts!



Leave a Reply