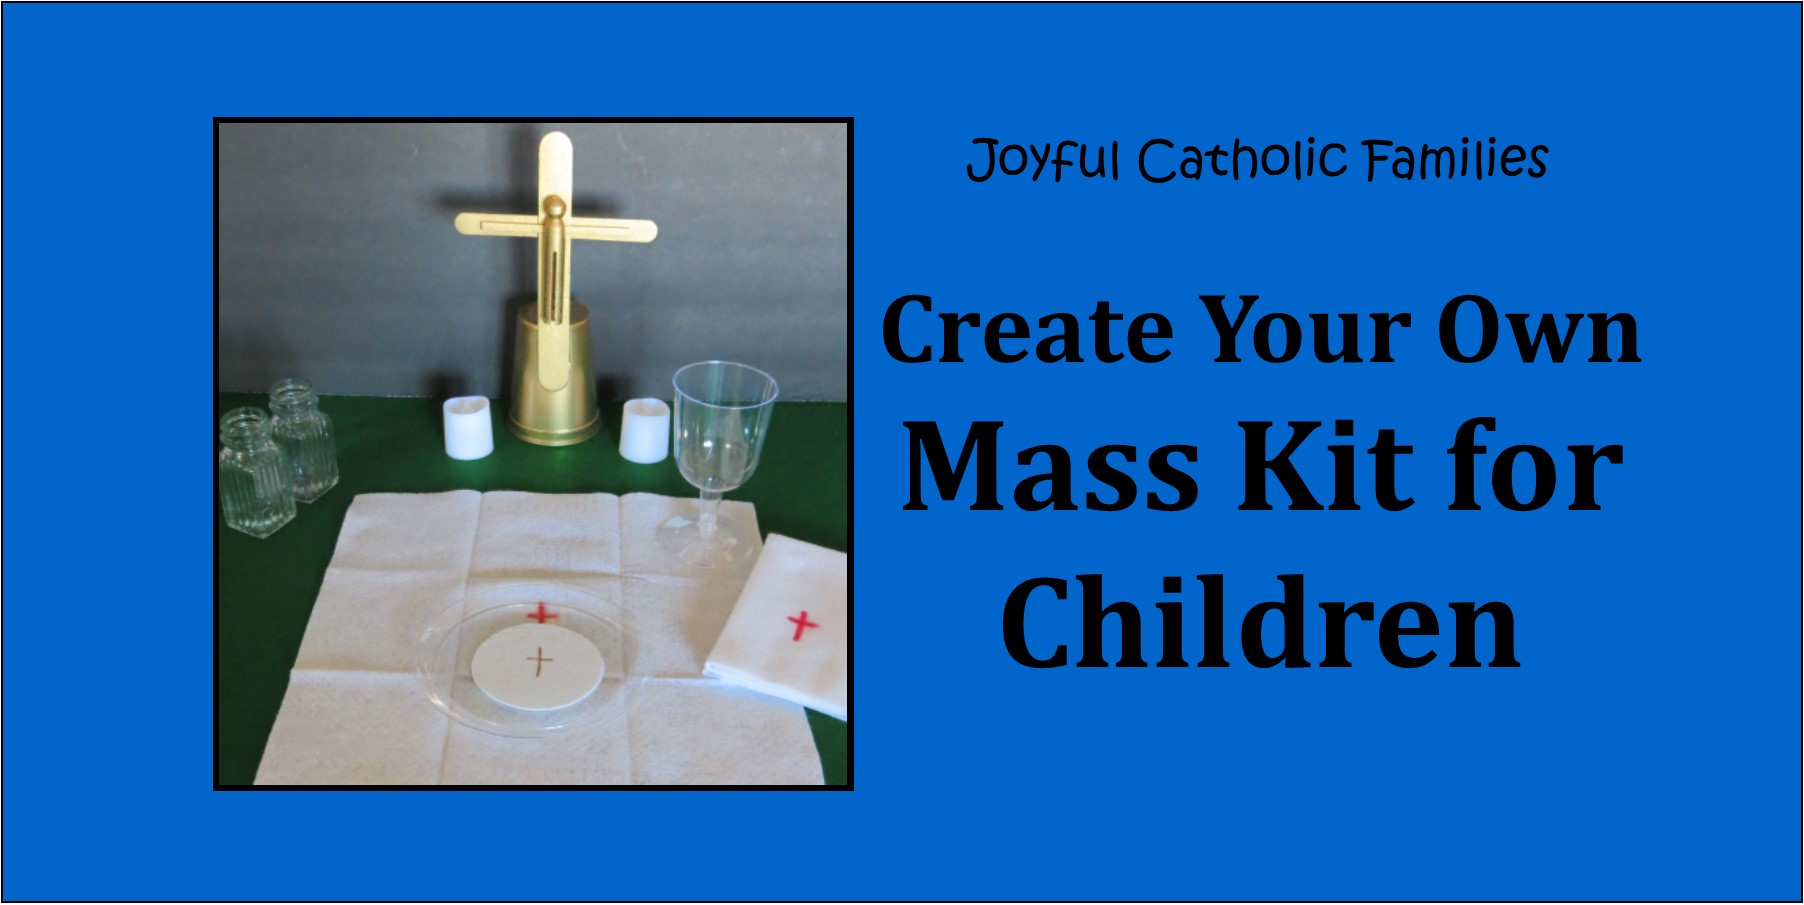
Several years ago I wanted to make a Mass kit for each child in my Little Lambs’ class to conclude our year on the Mass. I discovered Catholic Icing’s Mass Kit as I looked for ideas on how to make a Mass kit. That Mass kit gave my ideas on how to begin creating one for my class.
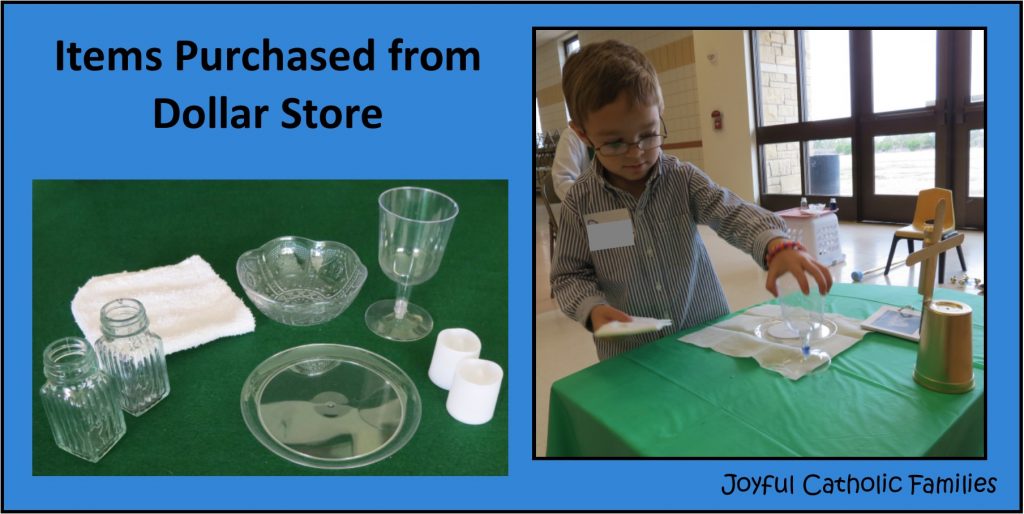
I began by purchasing items at a dollar store:
- plastic wine glasses for the chalices
- plastic plates for the patens (5.75″ diameter)
- small plastic bowls for washing hands (almost 5″ diameter)
- LED candles
- salt & pepper shakers (remove the lids and you have cruets!)
- white wash cloths to use as towels to dry “priests” hands
I decided to not spray paint the chalice and paten gold because I knew there would be kids who drank/ate from them.
Washing Hands:
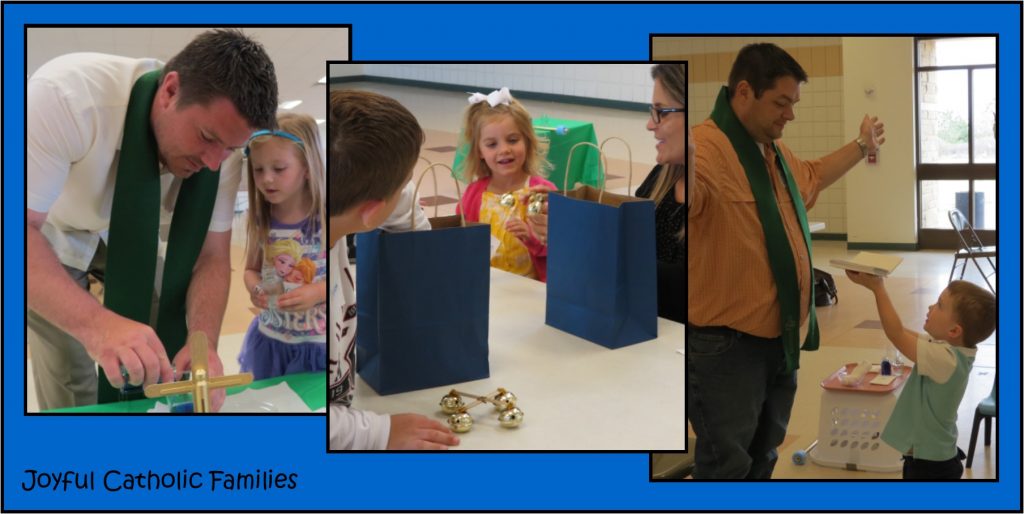
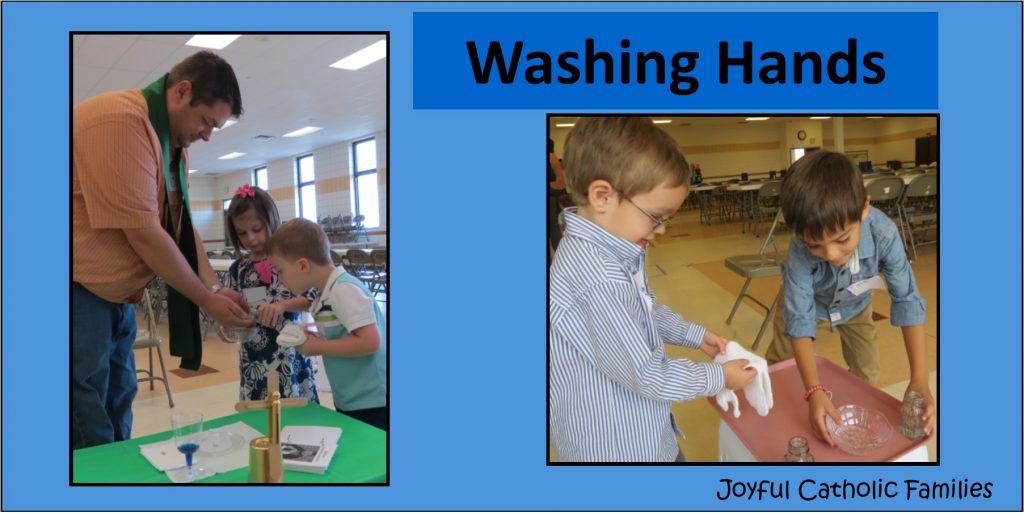
The kids loved using the bowl, towel, and cruet (salt shaker without a lid) to wash the priest’s (their dads’ hands)!
Making the Host:
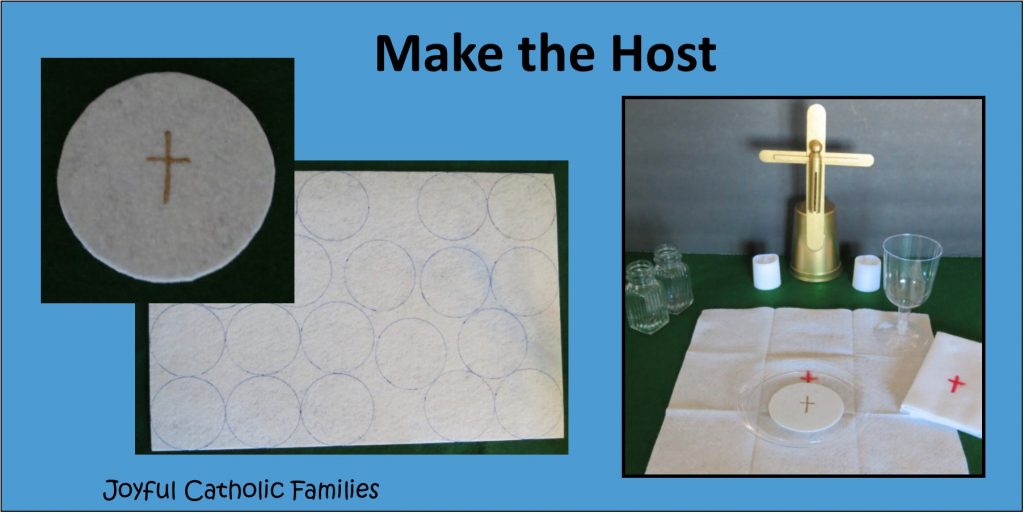
To make the large host used at Mass, I bought some “stiff felt” (12″ x 18″). I used a children’s plastic glass (the one used to make the crucifix) and drew circles onto the felt. Cut out and then use a marker or fabric paint to put a cross on the “host”. I did not make the little hosts we receive during Communion because I had a lot of Mass kits to make but they would be a fun addition.
Corporal & Purificator:
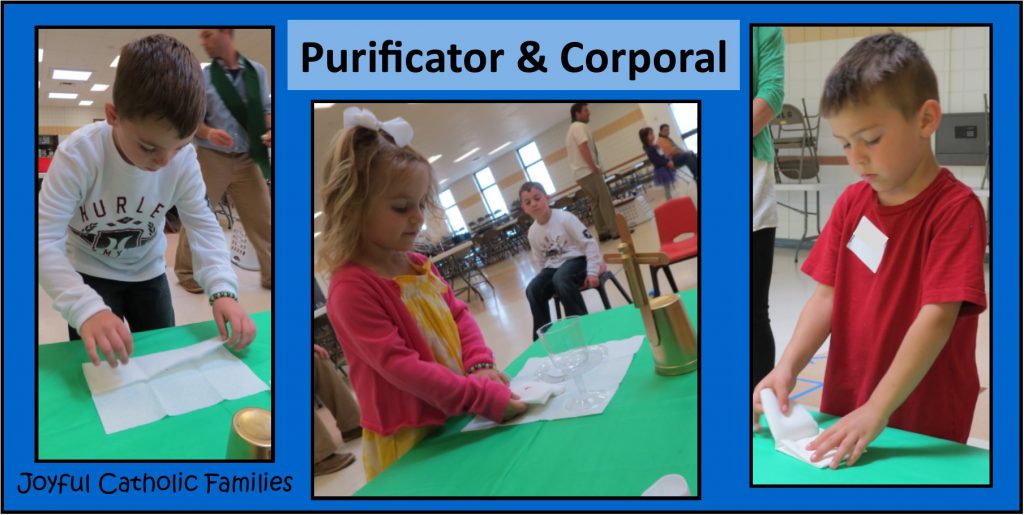
The corporal and purificator can be made from a paper towel (Viva brand works good) or felt. When I used the paper towels, I used them in the size they came in. When I used white felt, I cut a 12″ x 12″ square for the corporal and a 10″ x 12″ piece for the purificator.
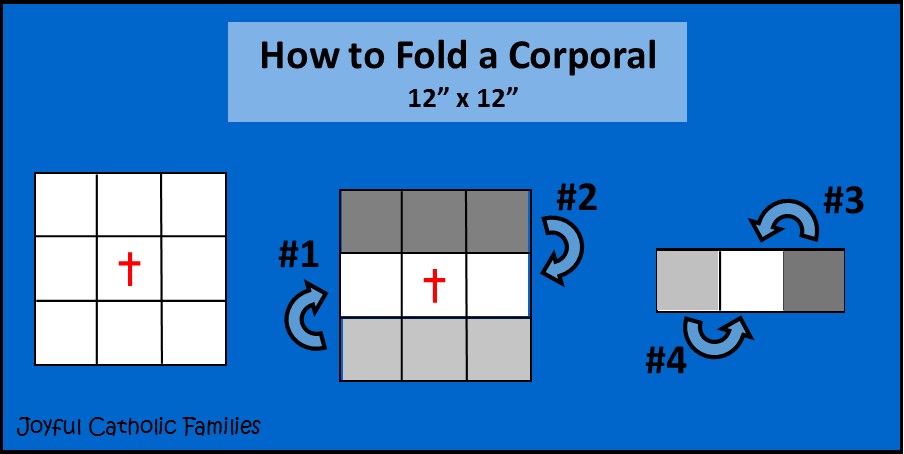
Folding the corporal:
- Fold the bottom 1/3 of the corporal up. (see step #1 in picture)
- Fold the top 1/3 down. You now have a 12″ x 4″ cloth. (step#2)
- Fold the right 1/3 to the left. (step #3)
- Fold the left 1/3 to the right. You now have a 4″ x 4″ square. (step #4)
- Iron/steam the folds into the felt.
- When the felt is cooled, unfold it so the inside is up. Using a red permanent marker or paint, put a cross in the center square.
(Note: corporals on the altar are folded without picking them up or turning them over. This keeps any particles of the Precious Body folded into the corporal — and not on the altar or floor.)
Folding the purificator:
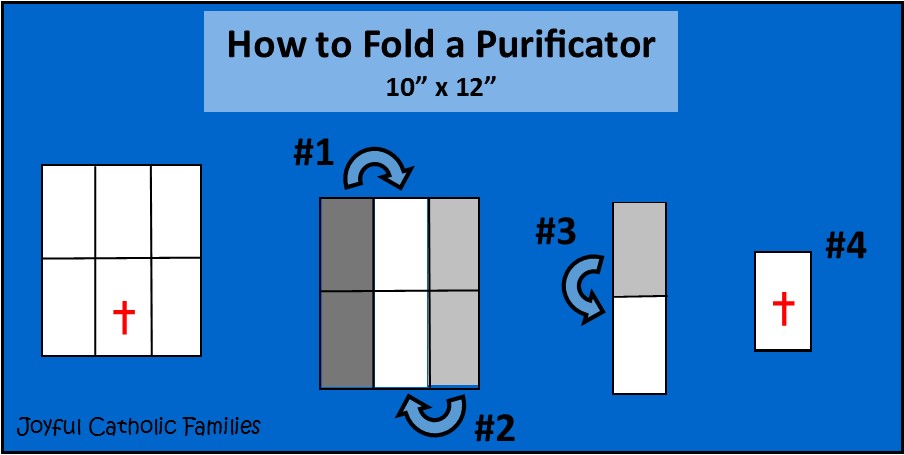
- Fold the left 1/3 of the purificator to the right. (see step #1 in picture)
- Fold the right 1/3 of the purificator to the left. You now have a 3.33″ x 12″ cloth. (step #2)
- Fold in half. (step #3)
- On the top use a red permanent marker or paint and put a cross in the center. (You may want to unfold before adding the cross so it does not bleed through to other layers. (step #4)
Bells:
The kids loved the bells! I taught them about bells in our December class: they learned to shake the bells three times. At our final class in May, I expected to hear bells ringing non stop as they discovered bells in their Mass kits, . I was very surprised when I kept hearing the bells being shook three times. Every single child remembered to shake the bells three times!
The bells do take time to make but the kids had so much fun with them, it was worth the time I put into making them.
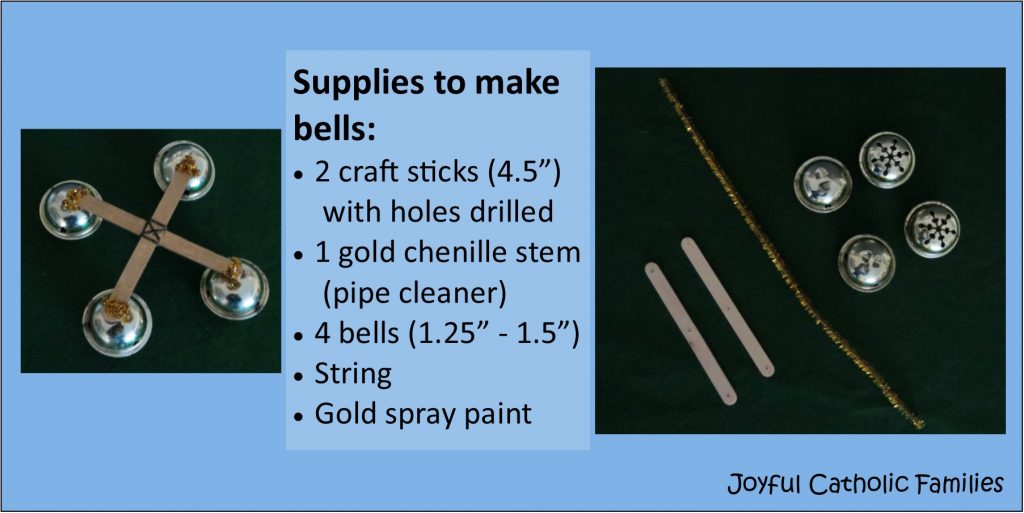
- Drill small holes towards the ends of each craft stick.
- Spray the sticks using gold paint.
- Tie the two craft stick together at their centers with the sticks perpendicular to each other.
- Cut the gold chenille stem into 4 equal pieces.
- Put a chenille stem piece through the hole at one end of a craft stick.
- Attach a bell to the craft stick using the chenille stem piece that is through the hole.
- Tuck in the sharp ends of the chenille stem.
- Put on the other 3 bells.
Crucifix:
Update: I discovered that silicone does a much better job holding together the crucifix compared to a hot glue gun. When I used silicone I was able to drop the crucifix onto tile and it did not come apart. You can buy 100% silicone for use in a caulking gun OR it comes in smaller tubes. I found it in the caulking tubes area of the store.
Many children do not have a crucifix in their bedrooms. Knowing that I felt like it was worth the extra time to make a nice crucifix for the Mass kits so the children can put it in their bedrooms when they are not playing Mass.
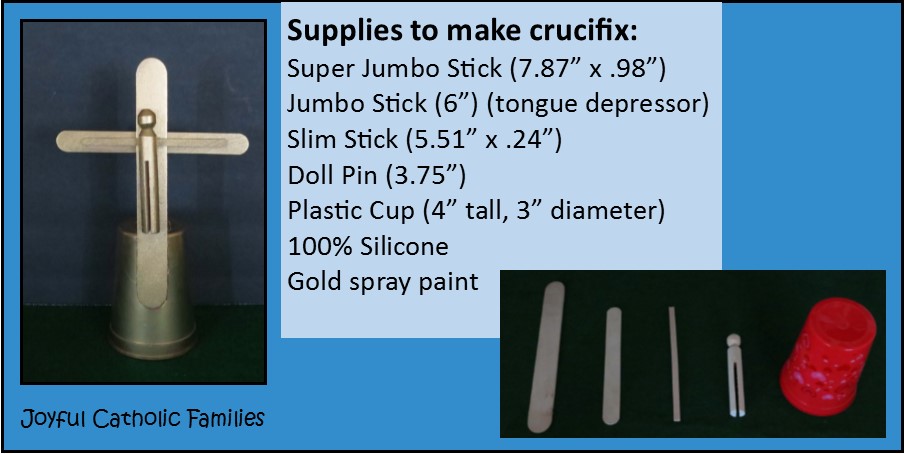
- The jumbo stick (tongue depressor) is the horizontal part of the cross.
- Using a hot glue gun, glue the super jumbo stick on top of the jumbo stick.
- Cut the slim stick to 4.5″.
- Silicone the cut slim stick to the vertical part of the cross (super jumbo stick)
- Silicone the doll pin to the slim stick and the vertical part of the cross.
- Silicone the bottom 2″ of the vertical part of the cross to the plastic cup.
- Spray paint it gold (including the inside of the cup).
Processional Crucifix:
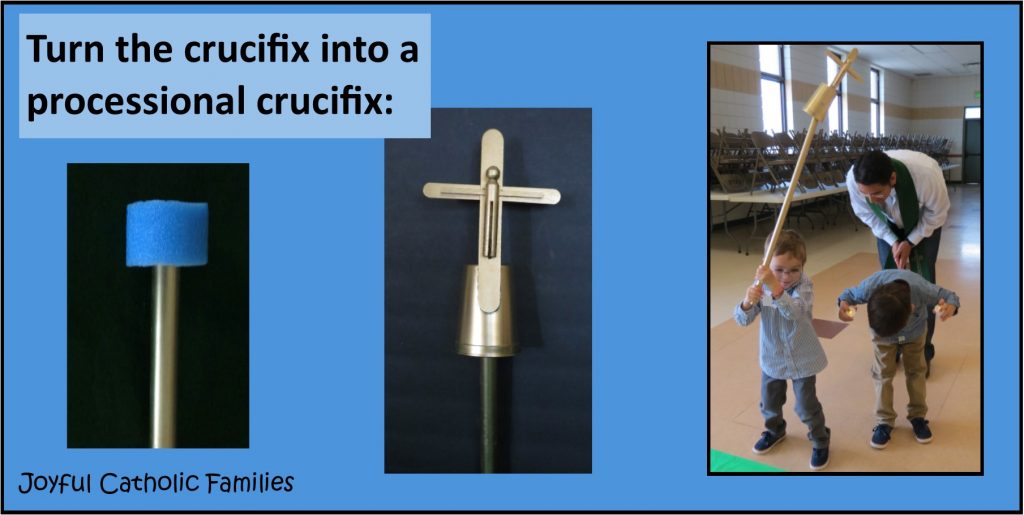
The crucifix can also be used as a precessional crucifix.
- Using gold spray paint, spray paint a 2.5′ piece of 1/2″ PVC pipe.
- Cut a 2″ piece of swim noodle (the swim noodle I used has a 2.25″ diameter)
- Put the swim noodle piece on the end of the gold PVC pipe.
- Put this into the cup on the crucifix. (The swim noodle piece keeps the PVC pipe from sliding around in the cup.
Now the crucifix can be used as the procession crucifix AND as the crucifix on the altar AND as a crucifix in the child’s bedroom!
Miscellaneous Items:
Altars:
For my class we needed lots of altars, so I used some small tables but also used plastic totes. I taped a foam board on top of the plastic tote so there would be a smooth surface.
Altar Cloths:
Green plastic table cloths cut in half make cheap altar cloths.
Stoles:
Cut felt (I used green) into 4″ strips the full width of the felt.
Dads were our “priests” so I needed bigger stoles. If making stoles for children, you can cut them narrower and shorter.
I did not make chasubles for this project because it would have taken a lot of fabric (felt) for all the dads but it would be a wonderful item to add if you are making for only a few kids.


This is so fantastic! Thank you for sharing!
May many little hearts begin to be formed for the priesthood while playing Mass!!
Amen!